Elderberry Jam Recipe
An elderberry jam recipe is just the ticket if you have elderberries growing on your land. Learn how to make elderberry jam, and you'll have a self-sufficient form of sweetness to go with your freshly baked bread.

Do You Have Elderberries?
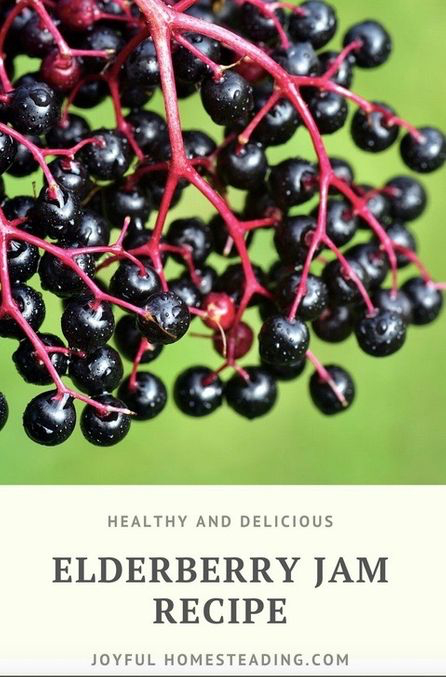
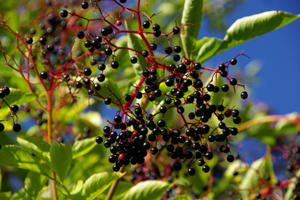
If you live in the United States or Canada, you very well could have elderberries growing on your property. Elderberries grow on a bush that can get up to thirteen feet high. The shrub has smooth, gray bark, and the berries are tiny and black. They grow in branching, umbrella-like clusters. You want to pick berries that are black rather than red; the red berries can make you sick.

Also, you want to cook your elderberries first before eating them. The seeds of the elderberries contain toxins, but the fruit of the elderberry makes a delicious jam.
For this elderberry jam recipe you will need to pick six quarts of fully ripe elderberries.
Elderberry Jam Recipe
Here's what you need to make elderberry jam:
- 6 quarts of fully ripe (black) elderberries
- 1/4 cup of lemon juice
- 1/4 cup of pectin
- 1/2 tsp. of butter or margarine
- 4 1/2 cups of sugar
You will also need a water bath canner along with canning jars and new lids and rims, a large, eight-quart saucepan, a potato masher or fruit crusher, cheesecloth and a large bowl.
Put the canner on your stove and fill it half-way with water. Bring the water to a simmer. While the water is heating on the stove, wash your jars and lids with hot soapy water and rinse well. Then fill your jars with boiling water to keep the jars hot until you are ready to fill them. You'll dump the water out right before you fill them.
Prepare the Lids
Depending on the type of lid you purchase (the two main brands are Ball and Kerr), you will need to either heat your lids in water until the water reaches 180 degrees, or pour boiling water over your lids and keep them in the hot water until you are ready to can your jam. Follow the instructions that come with your lids carefully.
Prepare the Elderberries
Remove all the stems from your elderberries and wash them well and then place the berries in your saucepan, just covering them with water. Bring to a boil and then simmer uncovered for 15 minutes.
At the end of your cooking time, scoop out small batches of the mixture and crush them gently with the potato masher or fruit crusher before returning them to the pot. Your goal is to crush the fruit but not the toxic seeds.
Draining the Juice
Line the bowl with the cheesecloth (ends of the cheesecloth should be sticking outside the bowl) and pour the elderberry mixture into the bowl. Tie the ends of the cheesecloth together and hang it up so that the juice drips into the bowl. Allow the mixture to drip until the dripping stops and then gently press the cloth to get the rest of the juice.
While the juice is dripping, wash the saucepan as you will need it again to make the jam.
This elderberry jam recipe requires three cups of prepared juice. If you don't have enough, you can add up to 1/2 a cup of water.
Place the juice into the saucepan and add the lemon juice, pectin and butter. Bring the mixture to a full rolling boil (one that doesn't stop bubbling when you stir it), stirring constantly. Add the sugar and again bring the mixture to a full rolling boil, again stirring constantly. Boil it for exactly one minute.
Remove the mixture from the heat, skim off any foam with a slotted spoon. Drain the standing water from your clean jars and ladle your jam into the jars. Fill the jars to within 1/2 of an inch from the top. Wipe the top of the jars clean in case any juice spilled on the jars and then cover with the lids, screwing the bands on firmly.
Canning Your Jam
Put the jars on the elevated rack in your hot water bath canner. You will need to add enough water to cover the jars by about two inches, so add boiling water if needed. Heat the water in the canner to a full rolling boil and boil the jars for five minutes.
At the end of five minutes remove the jars from the hot water and place upright on a cooling rack or towel. Allow the jars to cool completely.
Check the Seals
Lids that are sealed on the jars properly won't pop back when you touch them in the center. If the lid does pop back, preserve your jam by freezing it.
Read One Woman's Memories of Making Elderberry Jam


New! Comments
Have your say about what you just read! Leave me a comment in the box below.