Easy Kimchi Recipe - a Healthy Way To Preserve Garden Bounty
This easy kimchi recipe is a great way to improve your health while making the best use of your garden produce. Have you ever found yourself giving away cabbages and carrots because your family is sick of eating them?
Good news! There is a way to preserve these healthy foods for months while increasing their nutritional value.
I recently learned how to make kimchi while attending a workshop given at the St. Francis of the Woods Retreat Center led by Nancy VanWinkle of the Nomadic Roots Kitchen. I was amazed at how easy it is to make this delicious, healthy dish.

So Why Eat Kimchi?
Apart from the fact that it's delicious, this easy kimchi recipe is also loaded with the healthy bacteria your body needs.
Not all bacteria is bad; most of it is crucial for health. A lot of health problems begin with a lack of good bacteria in our guts.
If you have ever taken antibiotics, the healthy bacteria in your gut has likely been damaged, making you vulnerable to illness.
By consuming fermented foods on a regular basis, you can restore the good bacteria, boosting your immune system and even decreasing allergic responses. Plus, fermented foods are far more effective than taking probiotic supplements. They are in your system longer, making it easy for your gut to absorb more of the good bacteria.
Not only that, but fermented foods also help with digestion, providing your body with crucial enzymes to help break down foods such as meat and dairy products.
So What is Kimchi?
Kimchi is the Korean word for pickle. Basically it means fermenting different things including fruits as well as vegetables, although the traditional kimchi is made with Napa cabbage, daikon radishes and carrots.
I've added cut up pieces of apple to my kimchi, and it's fabulous.
Really you can add most anything you want as long as it is a fruit or vegetable. Also, any cabbage will work in this easy kimchi recipe.
Easy Kimchi Recipe
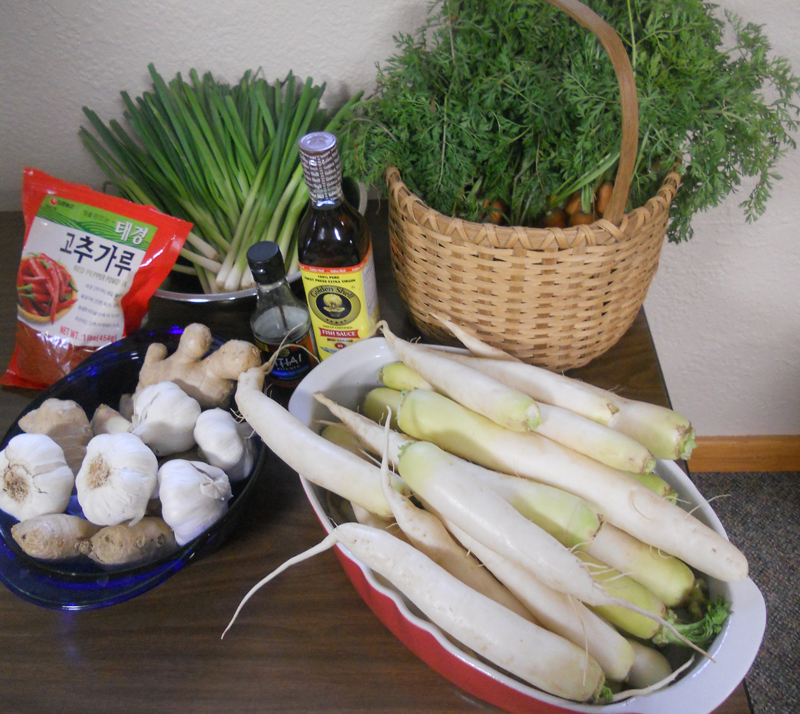
Here are the ingredients you will need for traditional kimchi:
- 1 Napa cabbage (about 3-5 pounds)
- 1-2 medium sized carrots
- 2 daikon radishes, about 8 ounces
- 4 scallions
- 3-4 green onions
- red pepper flakes - about 11/2 teaspoons or to taste
- 1 teaspoon of preservative free fish sauce (optional) - Please note: Make sure the fish sauce is preservative-free; fish sauce containing preservatives will prevent the kimchi from fermenting.
- 1 1-inch chunk of ginger
- 1-2 cloves fresh garlic
How to Prepare Kimchi
First cut up the cabbage into 1-inch size chunks and place the chunks in a large pot. Cover them with a salt solution made up of 1/4 cup of salt for every six cups of water you add to the pot. The goal here is a salinity of at least 18%. You can test it by placing a freshly laid egg in the water.
If it floats and breaks the surface, the water is sufficiently salinated. Please note that this won't work with an old egg, since they will have pockets of air and will float in any water.
Let the cabbage soak overnight. and then the next day taste the cabbage leaves. If they are too salty, put the cabbage in cold water to leech out some of the salt. Now you're ready to assemble your kimchi.
Take the cabbage out of the brine and place it in a large bowl. Cut the carrots, radishes, scallions and onions into 1/2 inch chunks and add them to the cabbage. Mix well.
Next, you will need to make a paste out of your seasonings. Place the ginger, fish sauce (if you are using it), peeled garlic cloves and pepper flakes in a food processor. If you don't have a food processor, then you will need to chop the ginger and garlic as finely as possible and place them in a small bowl along with the pepper flakes and the fish sauce. Mix well, then add the paste to your cabbage mixture and stir well.
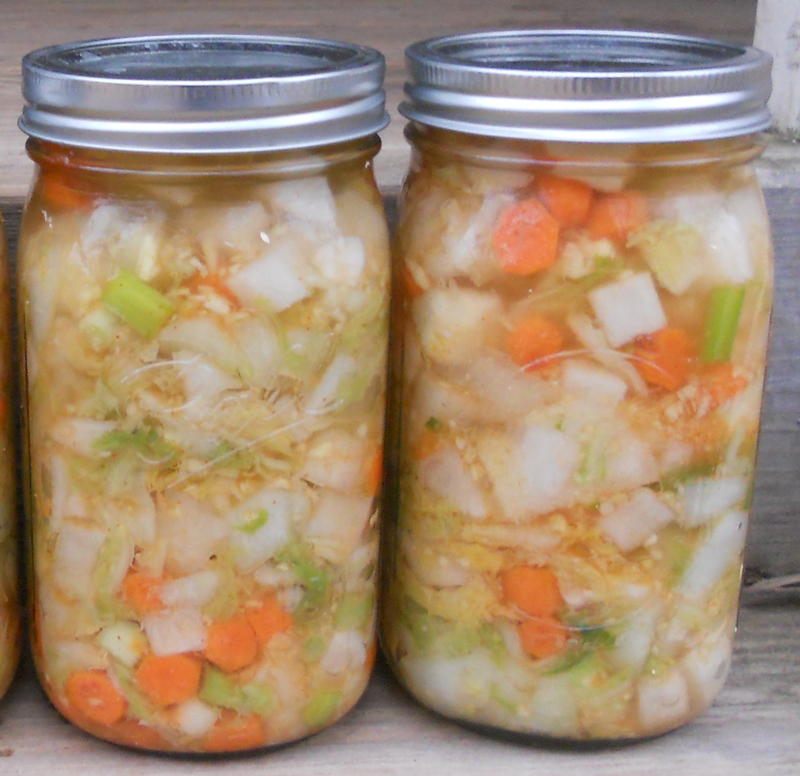
Place your seasoned cabbage mixture in a jar (or jars, if you made extra) with a lid, and set it in an out-of-the-way place on your counter. As the kimchi begins to ferment, it will create gas, so each day, you will need to open the jar for a minute or so to let the gas out.
The kimchi will be ready in about three days. If you prefer a stronger flavor, allow it to ferment a little longer. Place it in your refrigerator or in a cool place elsewhere.
I will warn you that kimchi stinks! It stunk up our whole refrigerator, so we now store our homemade kimchi in a cooler outside. Come summer, we plan on storing it in our root cellar. But honestly, don't let that deter you; kimchi is one of the best-tasting foods out there. So try this easy kimchi recipe. You'll be pleasantly surprised, and start planning on growing even more cabbage next year.

In Abducted, guilt and ghosts plague Calista Evans, the result of a desperate act she committed as a teenager...(read more)

In Abductions, millions have vanished, and the aliens are taking credit, claiming these "disruptive" persons were removed for re-education and the betterment of planet Earth...(read more)

For months, Phil Banowski scoured the bowels of the earth, desperate to free his daughter, Markey, from alien clutches...(read more).

Alexander St. James just made the biggest mistake of his life. He moved his wife, Lydia, and their daughter, Cass, into a deluxe underground bunker to ride out the chaos topside. Too late, Alexander realized he made a pact with the devil (read more).

Recent Articles
-
Books About the Rapture Help When Worrying About the Future
Jun 19, 25 04:06 PM
 Books about the rapture can give us hope in this uncertain time that we live in. Here's my recommendation.
 -
What Does Electrotherapy Do?
Sep 08, 22 04:05 PM
 What does electrotherapy do? Look at it as a safer way to manage either temporary or chronic pain.
 -
Why Pine Needle Tea Is a Must Have in Your Preparedness Pantry
Sep 01, 22 06:02 PM
 Pine needle tea is a must have in your preparedness pantry. It's the best way to eliminate any harmful spike proteins you've been exposed to.

New! Comments
Have your say about what you just read! Leave me a comment in the box below.